この記事はD-make Advent Calendar 2025の19日目の記事です。
こんにちは、gotoです。
昨今AIが文章・画像・動画・音楽・コードと様々なコンテンツを作成してくれるようになりましたが、文字ベースでの解説系動画はまだまだ人が作らなきゃいけないと私は思ってました。
動画を作るとなると、動画編集ソフトの知識が必要になるため簡単には行かないし、AIに自動で作らせる場合は高額なサブスクに入る必要がある。
しかし、Reactで動画が作れるという衝撃の記事に出会いました、Remotionというライブラリを使えば動画が作れるとのこと、Cursorと組み合わせて使えばAIで動画が作れるじゃないか!
ということで今回はRemotion×Cursorを使った動画作成をやってみました。
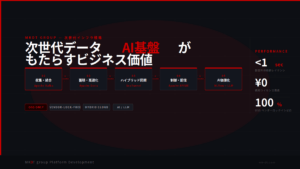
完成した動画
今回使ったライブラリ、Remotionのチュートリアルを動画にしました。
1分半の短い動画ですが、初めてでもAIに説明とコードを書かせて短時間で作成することが出来たと思います。
作業時間だけで言えば1時間も無かったと思います。
環境構築
前提としてnode.jsのv20以上のインストールが必要です。
エディタはCursorを使い、AgentもCursorのchatを使いました。
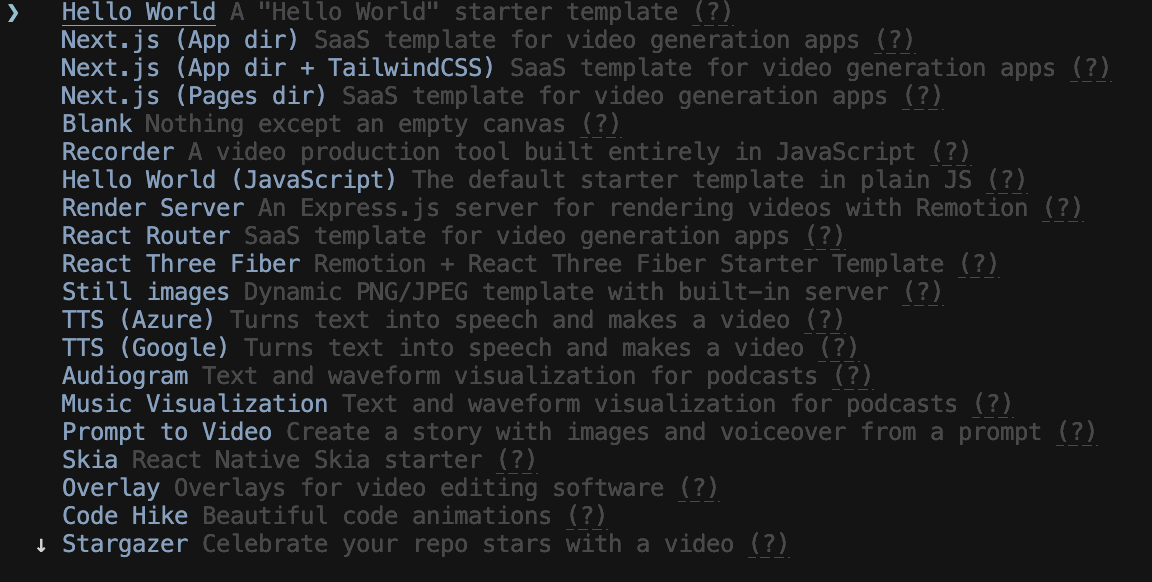
npx create-video@latest上記のコマンドを実行すると以下のようにどのテンプレートを使うか聞かれました。
とりあえずHello Worldを選択しました。
ディレクトリが作成されたら以下を実行
cd 作成されたディレクトリ
npm install
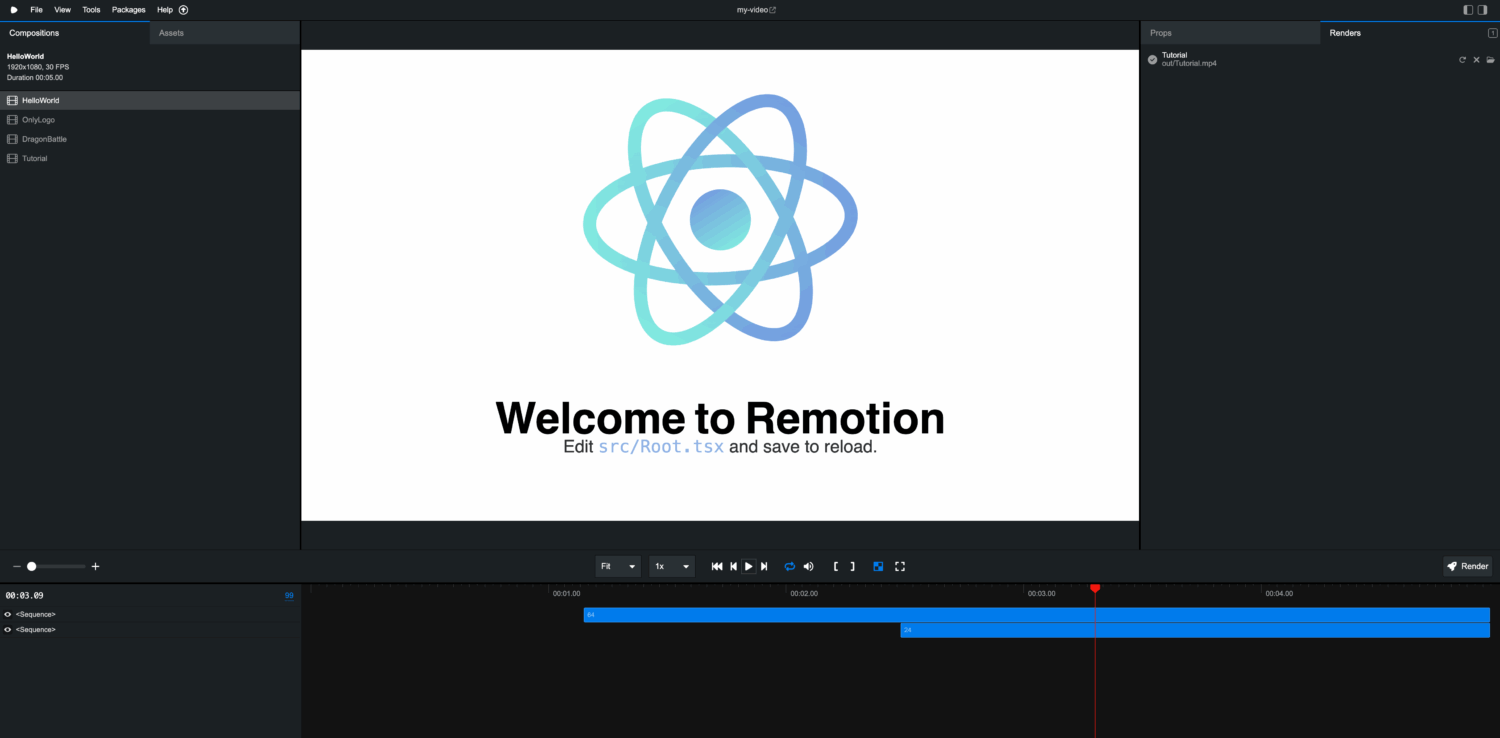
npm run devwebブラウザでlocalhost:3000でアクセスすると以下のような画面になる。
Hello Worldではそれっぽい動画が作成されていました。
動画作成
コード生成
remotionの使い方を解説する動画を作って欲しいです
3分くらいでインストールから基本操作までを解説してほしい
とりあえず上記のように雑に指示してみました。
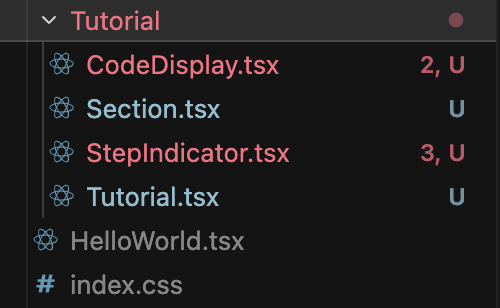
すると、生成されたコンポジションに合わせてディレクトリが生成されていました。
音声ファイル作成
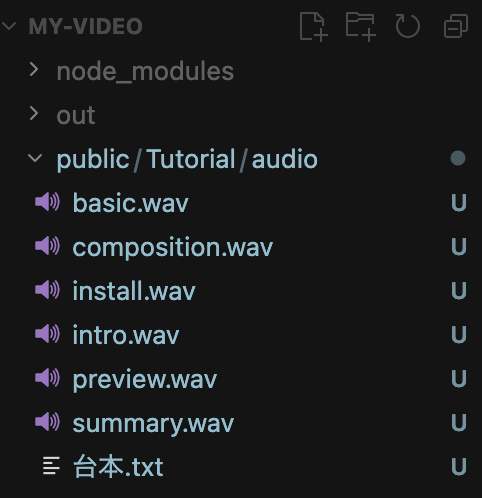
音声ファイルは VOICEVOXの東北きりたんを使用し、手動で台本を打ち込み作成しました。
台本はAIに作成してもらい、ファイルはpublicディレクトリ配下に各Sequence毎に作成しました。
コード内容
Tutorial.tsx
import React from "react";
import { AbsoluteFill, Sequence, useCurrentFrame } from "remotion";
import { Section } from "./Section";
import { StepIndicator } from "./StepIndicator";

// セクションのタイミング
const INTRO_START = 0;
const INTRO_DURATION = 300; // 10秒

const INSTALL_START = INTRO_START + INTRO_DURATION;
const INSTALL_DURATION = 600; // 20秒

const BASIC_START = INSTALL_START + INSTALL_DURATION;
const BASIC_DURATION = 600; // 20秒

const COMPOSITION_START = BASIC_START + BASIC_DURATION;
const COMPOSITION_DURATION = 450; // 30秒

const PREVIEW_START = COMPOSITION_START + COMPOSITION_DURATION;
const PREVIEW_DURATION = 450; // 30秒

const SUMMARY_START = PREVIEW_START + PREVIEW_DURATION;
const SUMMARY_DURATION = 600; // 20秒

const TOTAL_STEPS = 6;

export const Tutorial: React.FC = () => {
  const frame = useCurrentFrame();

  // 現在のステップを計算
  const getCurrentStep = () => {
    if (frame < INSTALL_START) return 1;
    if (frame < BASIC_START) return 2;
    if (frame < COMPOSITION_START) return 3;
    if (frame < PREVIEW_START) return 4;
    if (frame < SUMMARY_START) return 5;
    return 6;
  };

  const currentStep = getCurrentStep();

  return (
    <AbsoluteFill style={{ backgroundColor: "#ffffff" }}>
      {/* ステップインジケーター */}
      <StepIndicator
        currentStep={currentStep}
        totalSteps={TOTAL_STEPS}
        frame={frame}
      />

      {/* イントロセクション */}
      <Sequence from={INTRO_START} durationInFrames={INTRO_DURATION}>
        <Section
          titleText="Remotion とは?"
          subtitleText="React で動画を作成できる強力なライブラリです。コードでアニメーションを制御し、プログラム可能な動画を制作できます。"
          duration={INTRO_DURATION}
          audioSrc="Tutorial/audio/intro.wav"
        />
      </Sequence>

      {/* インストールセクション */}
      <Sequence from={INSTALL_START} durationInFrames={INSTALL_DURATION}>
        <Section
          titleText="1. インストール"
          subtitleText="Remotion プロジェクトを作成するには、以下のコマンドを実行します:"
          code={`省略`}
          duration={INSTALL_DURATION}
          audioSrc="Tutorial/audio/install.wav"
        />
      </Sequence>

      {/* 基本コンポーネント作成セクション */}
      <Sequence from={BASIC_START} durationInFrames={BASIC_DURATION}>
        <Section
          titleText="2. 基本コンポーネントの作成"
          subtitleText="シンプルなコンポーネントを作成してみましょう。useCurrentFrame と interpolate を使ってアニメーションを制御します。"
          code={` 省略 `}
          duration={BASIC_DURATION}
          audioSrc="Tutorial/audio/basic.wav"
        />
      </Sequence>

      {/* Composition設定セクション */}
      <Sequence from={COMPOSITION_START} durationInFrames={COMPOSITION_DURATION}>
        <Section
          titleText="3. Composition の設定"
          subtitleText="Root.tsx でコンポーネントを Composition として登録します。これにより Remotion Studio でプレビューできるようになります。"
          code={ ` 省略 `}
          duration={COMPOSITION_DURATION}
          audioSrc="Tutorial/audio/composition.wav"
        />
      </Sequence>

      {/* プレビューとレンダリングセクション */}
      <Sequence from={PREVIEW_START} durationInFrames={PREVIEW_DURATION}>
        <Section
          titleText="4. プレビューとレンダリング"
          subtitleText="開発サーバーを起動してプレビューし、完成したら動画としてレンダリングします。"
          code={` 省略 `}
          duration={PREVIEW_DURATION}
          audioSrc="Tutorial/audio/preview.wav"
        />
      </Sequence>

      {/* まとめセクション */}
      <Sequence from={SUMMARY_START} durationInFrames={SUMMARY_DURATION}>
        <Section
          titleText="まとめ"
          subtitleText="Remotion を使えば、React の知識で動画を作成できます。useCurrentFrame で時間を制御し、interpolate でスムーズなアニメーションを実現しましょう。"
          duration={SUMMARY_DURATION}
          audioSrc="Tutorial/audio/summary.wav"
        />
      </Sequence>
    </AbsoluteFill>
  );
};
Sequenceコンポーネントで全体的な尺の設定を行っているようです。

Section.tsx
import React from "react";
import { AbsoluteFill, Audio, interpolate, staticFile, useCurrentFrame } from "remotion";
import { FONT_FAMILY } from "../HelloWorld/constants";
import { CodeDisplay } from "./CodeDisplay";

const sectionContainer: React.CSSProperties = {
  backgroundColor: "#ffffff",
  padding: 80,
  display: "flex",
  flexDirection: "column",
  alignItems: "center",
  justifyContent: "center",
};

const title: React.CSSProperties = {
  fontFamily: FONT_FAMILY,
  fontSize: 72,
  fontWeight: "bold",
  textAlign: "center",
  marginBottom: 40,
  color: "#000000",
};

const subtitle: React.CSSProperties = {
  fontFamily: FONT_FAMILY,
  fontSize: 36,
  textAlign: "center",
  marginBottom: 60,
  color: "#666666",
  maxWidth: 1400,
  lineHeight: 1.6,
};

const content: React.CSSProperties = {
  width: "100%",
  maxWidth: 1400,
};

interface SectionProps {
  titleText: string;
  subtitleText?: string;
  code?: string;
  children?: React.ReactNode;
  duration: number;
  audioSrc?: string;
}

export const Section: React.FC<SectionProps> = ({
  titleText,
  subtitleText,
  code,
  children,
  duration,
  audioSrc,
}) => {
  // Sequence内では useCurrentFrame() は既にSequence開始からの相対フレームを返す
  const relativeFrame = useCurrentFrame();

  // フェードインアニメーション
  const opacity = interpolate(
    relativeFrame,
    [0, 20],
    [0, 1],
    {
      extrapolateLeft: "clamp",
      extrapolateRight: "clamp",
    }
  );

  // タイトルのスライドイン
  const titleY = interpolate(
    relativeFrame,
    [0, 30],
    [-50, 0],
    {
      extrapolateLeft: "clamp",
      extrapolateRight: "clamp",
    }
  );

  // サブタイトルのフェードイン(少し遅れて)
  const subtitleOpacity = interpolate(
    relativeFrame,
    [10, 40],
    [0, 1],
    {
      extrapolateLeft: "clamp",
      extrapolateRight: "clamp",
    }
  );

  // コンテンツのフェードイン(さらに遅れて)
  const contentOpacity = interpolate(
    relativeFrame,
    [20, 50],
    [0, 1],
    {
      extrapolateLeft: "clamp",
      extrapolateRight: "clamp",
    }
  );

  if (relativeFrame < 0 || relativeFrame >= duration) {
    return null;
  }

  return (
    <AbsoluteFill style={{ ...sectionContainer, opacity }}>
      {/* 音声ナレーション */}
      {audioSrc && (
        <Audio
          src={staticFile(audioSrc)}
          startFrom={0}
          volume={1}
        />
      )}
      <h1
        style={{
          ...title,
          transform: `translateY(${titleY}px)`,
        }}
      >
        {titleText}
      </h1>
      {subtitleText && (
        <div
          style={{
            ...subtitle,
            opacity: subtitleOpacity,
          }}
        >
          {subtitleText}
        </div>
      )}
      <div
        style={{
          ...content,
          opacity: contentOpacity,
        }}
      >
        {code && (
          <CodeDisplay
            code={code}
            delay={30}
            duration={Math.min((duration - 40) * 0.5, code.length * 1.5)}
          />
        )}
        {children}
      </div>
    </AbsoluteFill>
  );
};
sectionコンポーネントでテキストの絶対位置をAbsoluteFillコンポーネントを使って決めているようです。
また、ここで各Sequenceで呼ぶ音声ファイルをAudioコンポーネントから読んでいます。
interpolateでアニメーションの操作を行っています。
CodeDisplay.tsx
import React from "react";
import { interpolate, useCurrentFrame } from "remotion";

const container: React.CSSProperties = {
  fontFamily: "Monaco, 'Courier New', monospace",
  fontSize: 20,
  backgroundColor: "#1e1e1e",
  color: "#d4d4d4",
  padding: 30,
  borderRadius: 8,
  maxWidth: 1200,
  margin: "0 auto",
  lineHeight: 1.6,
  overflow: "hidden",
  whiteSpace: "pre",
};

const lineStyle: React.CSSProperties = {
  marginBottom: 4,
  whiteSpace: "pre",
};

interface CodeDisplayProps {
  code: string;
  delay?: number;
  duration?: number;
}

export const CodeDisplay: React.FC<CodeDisplayProps> = ({
  code,
  delay = 0,
  duration = 60,
}) => {
  const frame = useCurrentFrame();
  const relativeFrame = frame - delay;

  // タイプライター効果: 文字数を徐々に増やす
  const visibleChars = interpolate(
    relativeFrame,
    [0, duration],
    [0, code.length],
    {
      extrapolateLeft: "clamp",
      extrapolateRight: "clamp",
    }
  );

  const visibleCode = code.slice(0, Math.floor(visibleChars));

  // カーソルの点滅(30フレームごとに点滅)
  const cursorOpacity = Math.floor(relativeFrame / 15) % 2 === 0 ? 1 : 0.3;

  const lines = visibleCode.split("\n");

  return (
    <div style={container}>
      {lines.map((line, index) => (
        <div key={index} style={lineStyle}>
          {line.length > 0 ? line : "\u00A0"}
        </div>
      ))}
      {relativeFrame < duration && (
        <span style={{ opacity: cursorOpacity }}>▊</span>
      )}
    </div>
  );
};
interpolateでコードを書いているようなアニメーションの設定を行っています。
StepIndicator.tsx
import React from "react";
import { interpolate } from "remotion";
import { FONT_FAMILY } from "../HelloWorld/constants";

const container: React.CSSProperties = {
  position: "absolute",
  top: 40,
  left: 40,
  right: 40,
  zIndex: 10,
};

const stepText: React.CSSProperties = {
  fontFamily: FONT_FAMILY,
  fontSize: 24,
  color: "#666",
  marginBottom: 10,
};

const progressBar: React.CSSProperties = {
  height: 4,
  backgroundColor: "#e0e0e0",
  borderRadius: 2,
  overflow: "hidden",
};

const progressFill: React.CSSProperties = {
  height: "100%",
  backgroundColor: "#86A8E7",
  transition: "width 0.3s ease",
};

interface StepIndicatorProps {
  currentStep: number;
  totalSteps: number;
  frame: number;
}

export const StepIndicator: React.FC<StepIndicatorProps> = ({
  currentStep,
  totalSteps,
  frame,
}) => {
  const opacity = interpolate(frame, [0, 20], [0, 1], {
    extrapolateLeft: "clamp",
    extrapolateRight: "clamp",
  });

  const progress = (currentStep / totalSteps) * 100;

  return (
    <div style={{ ...container, opacity }}>
      <div style={stepText}>
        ステップ {currentStep} / {totalSteps}
      </div>
      <div style={progressBar}>
        <div style={{ ...progressFill, width: `${progress}%` }} />
      </div>
    </div>
  );
};
画面上部のステップ表示を行うコンポーネントです。
Root.tsx
import "./index.css";
import { Composition } from "remotion";
import { HelloWorld, myCompSchema } from "./HelloWorld";
import { Logo, myCompSchema2 } from "./HelloWorld/Logo";
import { DragonBattle } from "./DragonBattle/DragonBattle";
import { Tutorial } from "./Tutorial/Tutorial";
// Each <Composition> is an entry in the sidebar!
export const RemotionRoot: React.FC = () => {
return (
<>
<Composition
// You can take the "id" to render a video:
// npx remotion render HelloWorld
id="HelloWorld"
component={HelloWorld}
durationInFrames={150}
fps={30}
width={1920}
height={1080}
// You can override these props for each render:
// https://www.remotion.dev/docs/parametrized-rendering
schema={myCompSchema}
defaultProps={{
titleText: "Welcome to Remotion",
titleColor: "#000000",
logoColor1: "#91EAE4",
logoColor2: "#86A8E7",
}}
/>
{/* Mount any React component to make it show up in the sidebar and work on it individually! */}
<Composition
id="OnlyLogo"
component={Logo}
durationInFrames={150}
fps={30}
width={1920}
height={1080}
schema={myCompSchema2}
defaultProps={{
logoColor1: "#91dAE2" as const,
logoColor2: "#86A8E7" as const,
}}
/>
<Composition
id="DragonBattle"
component={DragonBattle}
durationInFrames={240}
fps={30}
width={1920}
height={1080}
/>
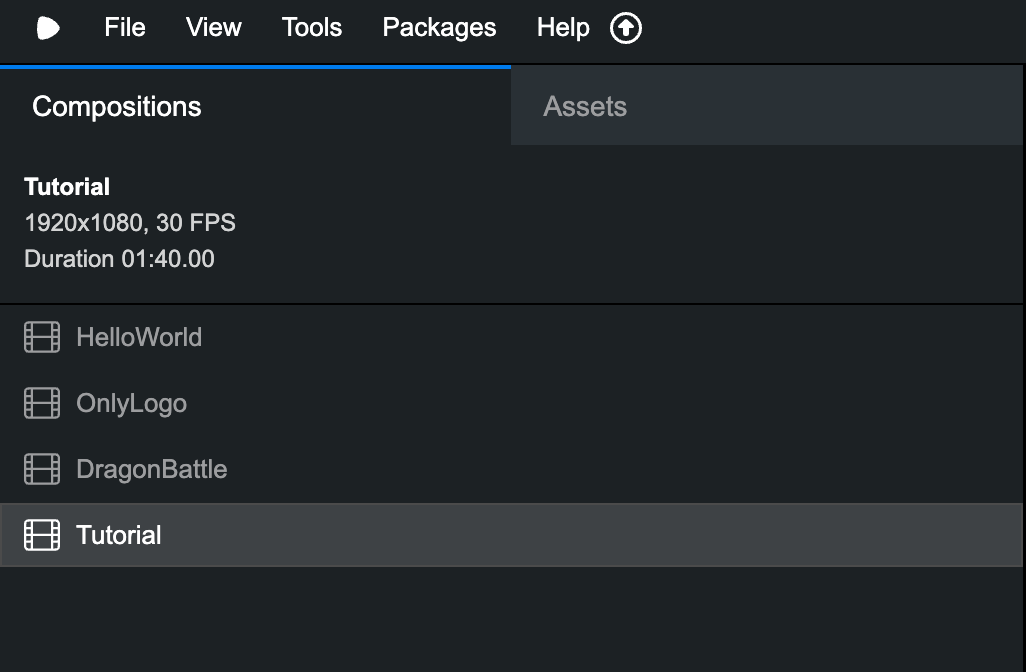
<Composition
id="Tutorial"
component={Tutorial}
durationInFrames={3000}
fps={30}
width={1920}
height={1080}
/>
</>
);
};
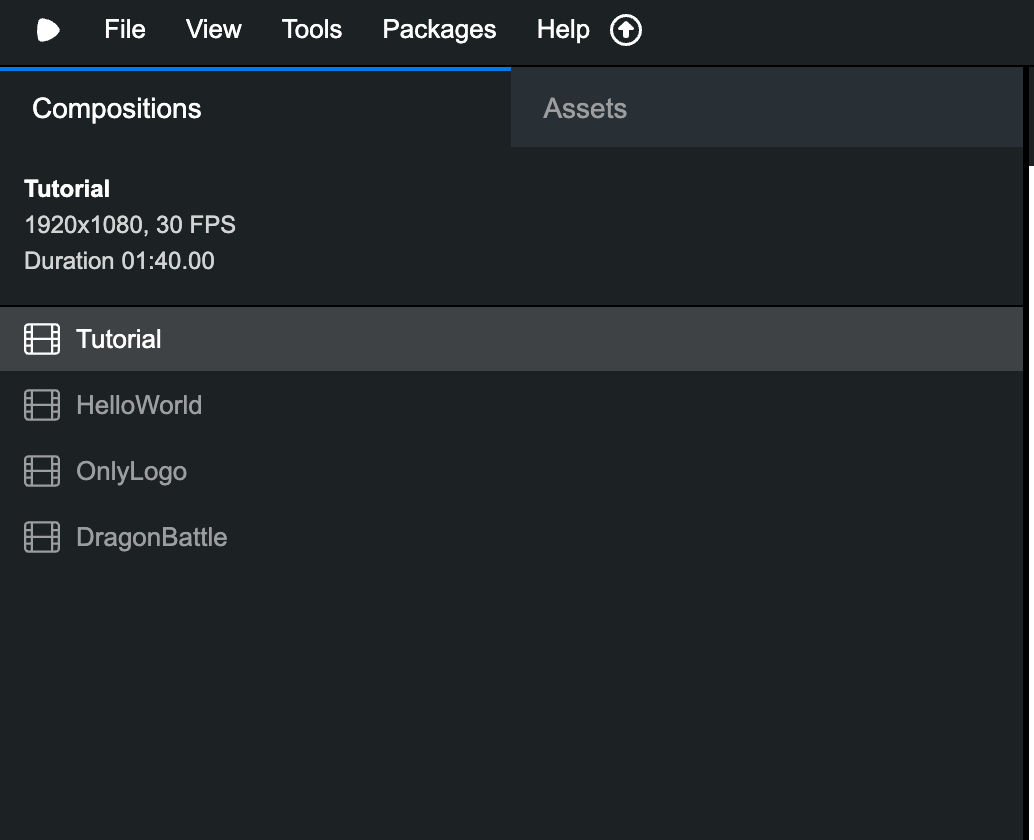
RootファイルにCompositionコンポーネントを宣言し、コンポーネントのファイルを読み込ませたら画面左のComposition一覧に表示されます。
アニメーションの時間が長すぎたりしたので数回AIにコードを調整させましたが、これだけの設定で今回の動画は作成出来ます。
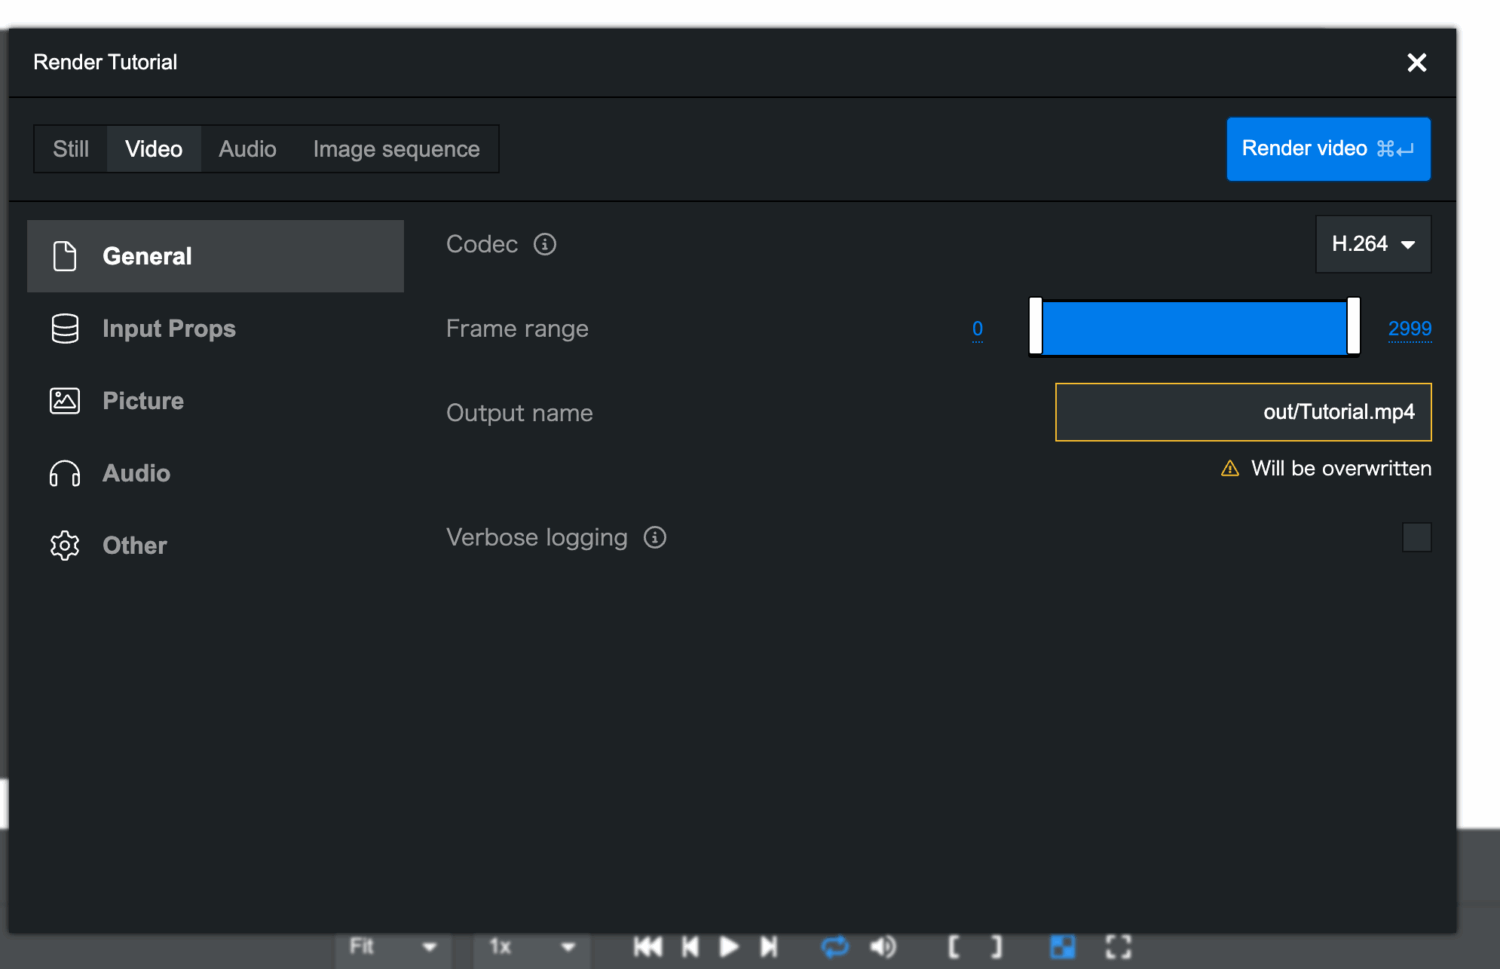
レンダリング
左下のRenderボタンを押すと以下のようなメニューが表示され、そのままRender videoでレンダリングされました。
まとめ
今回はRemotion×Cursorを使って簡単に動画作成をする方法について紹介しました。
ゆっくり解説系動画などの目の動きやクチパクはやれてないので、今度はディーメイクのマスコットキャラクターのDさむらいくんを使い、動画作成出来たらいいなと思っています。